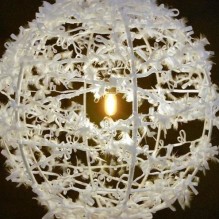
People who have developed creative abilities very often create interior elements with their own hands, and making a master class chandelier will not be difficult. It is only better to buy factory-made lamps for the bathroom, because they must be small and reliable.
Homes with handmade items take on a sophisticated and original look.
So far, the brand has been strong. It is easy to remove and easy to drink and self-clean. Although the middle is transparent, there are color variations of the lid and base in white, black, pink, silver and for a limited time gold. Cleaning: These bottles are self-cleaning when you add water and detergent to mix and rinse.
Description: Widely ranked as one of the best vibrating bottles money can buy, the cyclone bowl uses a stationary vortex mixer attached to the top and has a clear cup so you can see how to mix and shake all the way. It also comes with a dry pill, powder, or whatever else you might need to take with you.
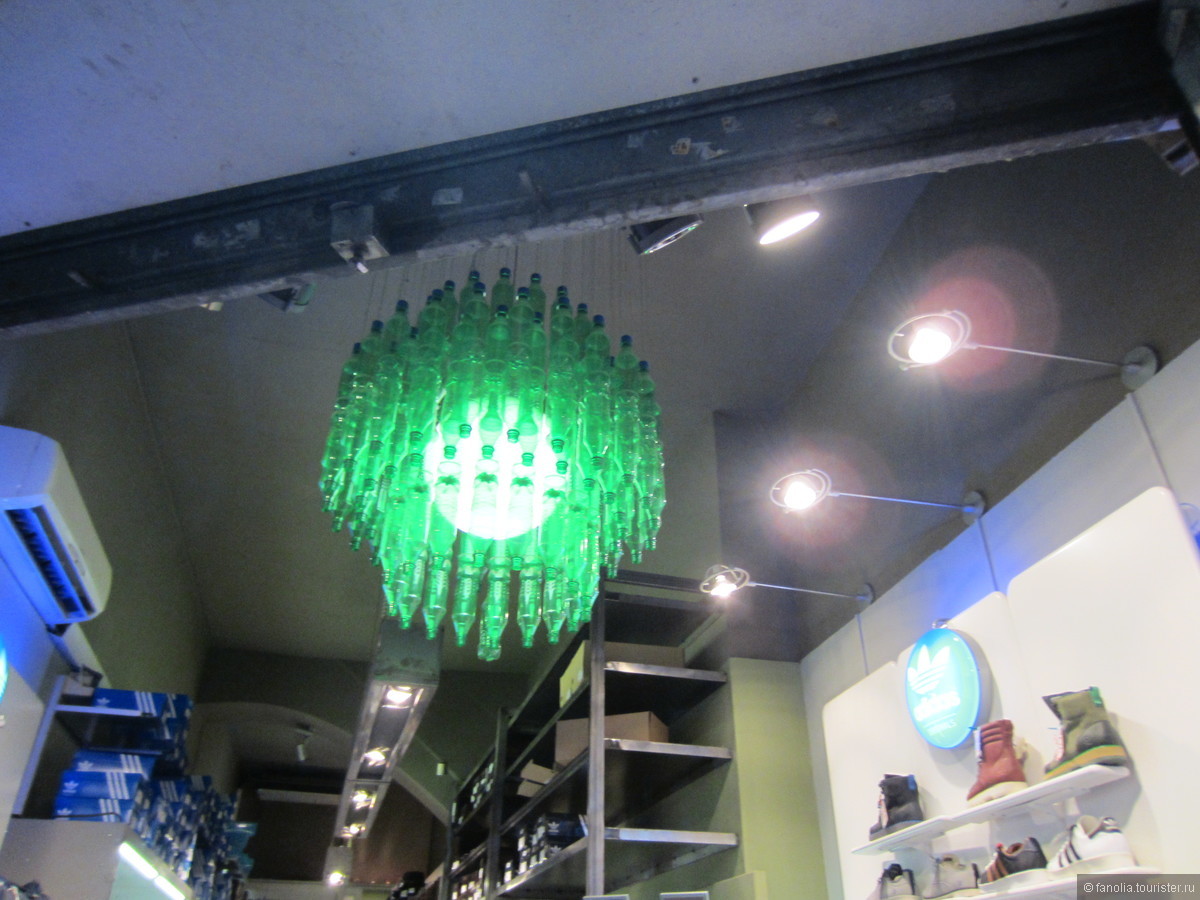
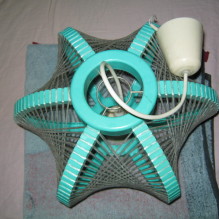
We make a chandelier with our own hands from plastic bottles
To make a chandelier from plastic bottles we take:
- If you have an old chandelier, you can take her island
- Many colorful bottles
- No more than ten steel rods
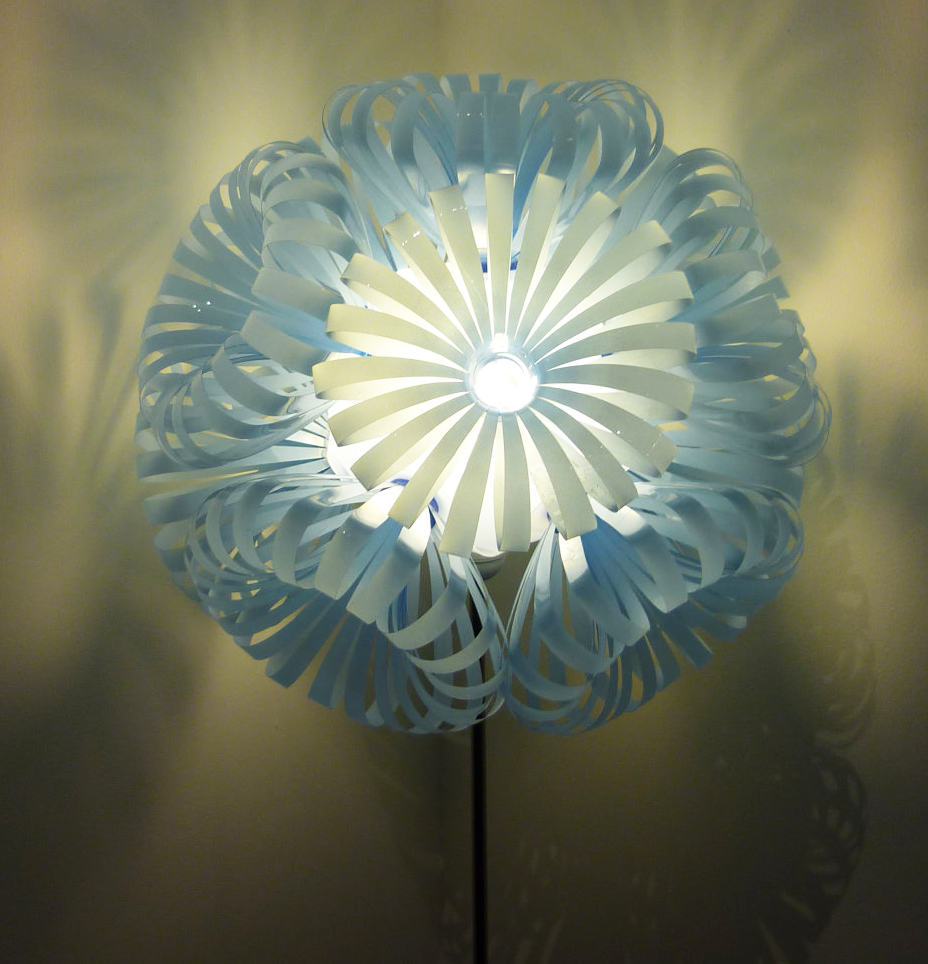
- We cut out any figures that you want to see on your chandelier from plastic bottles with scissors (animals, flowers, etc.)
- We attach several twigs to the island of the chandelier. From the rest we make something that looks like a hedgehog, connecting the rods in the middle. We remove one rod where the light bulb will be
- Next, we supplement the resulting frame with previously cut plastic figures
- We connect the island and the hedgehog together.
Now you know how to make a plastic chandelier with your own hands. To consolidate the material, we recommend that you watch a video in which examples of chandeliers from plastic bottles are collected:
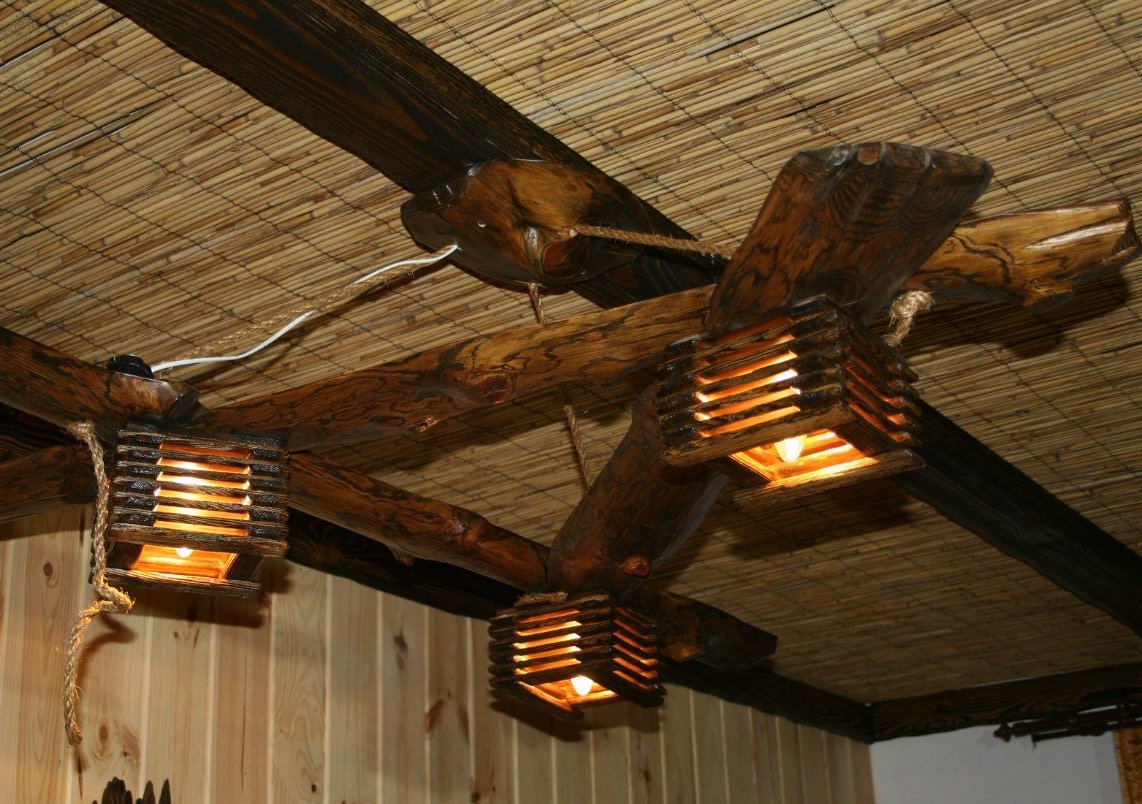
Do-it-yourself chandelier made of wood
To make a chandelier made of wood, we need:
- Twelve strips for door cladding, 30-45 cm each.
- Liter cans, from which we will make shades (6pcs).
- White and woody paint.
- Self-tapping screws for wood.
- Sandpaper.
- Seaming machine.
Description of the manufacturing principle.
- Smooth the planks with sandpaper
- We need space for the electrical wire, so we make a notch on the back of each plank.
- We drill three strips to which we will attach the shades.
- We paint the planks in woody color.
- We make a regular hexagon from the plans.
- We attach the cartridge to the hole in the lid.
- We roll up cans with bulbs inside.
- We paint the plafond in any light color.
DIY wood chandelier, photo below:
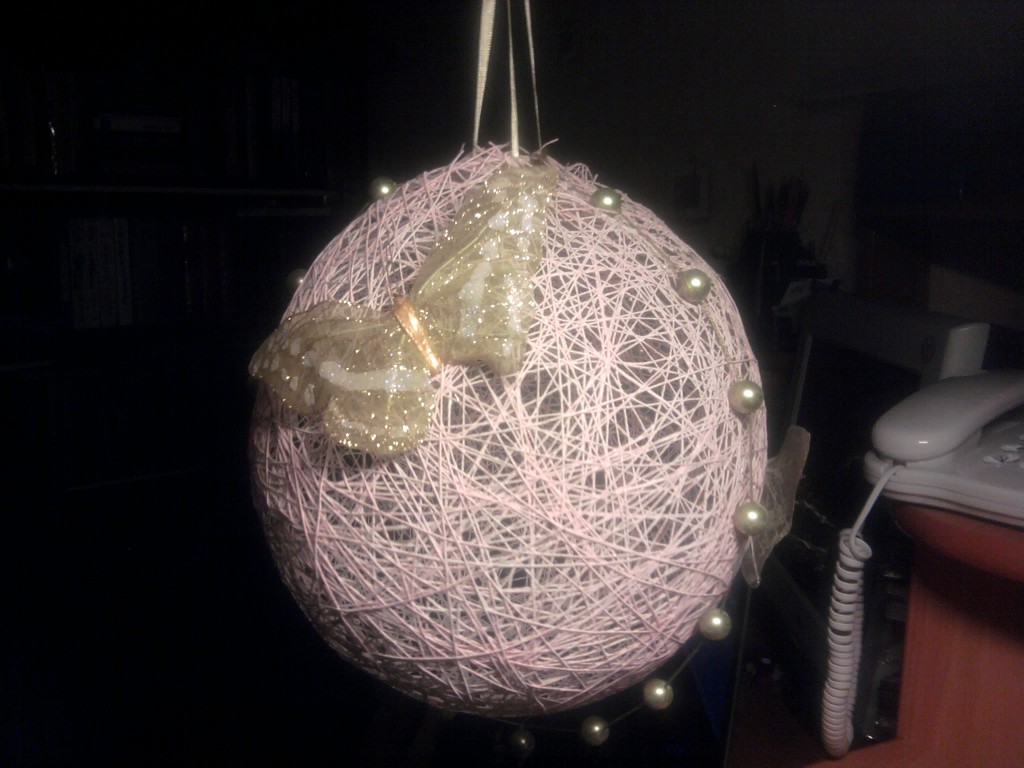
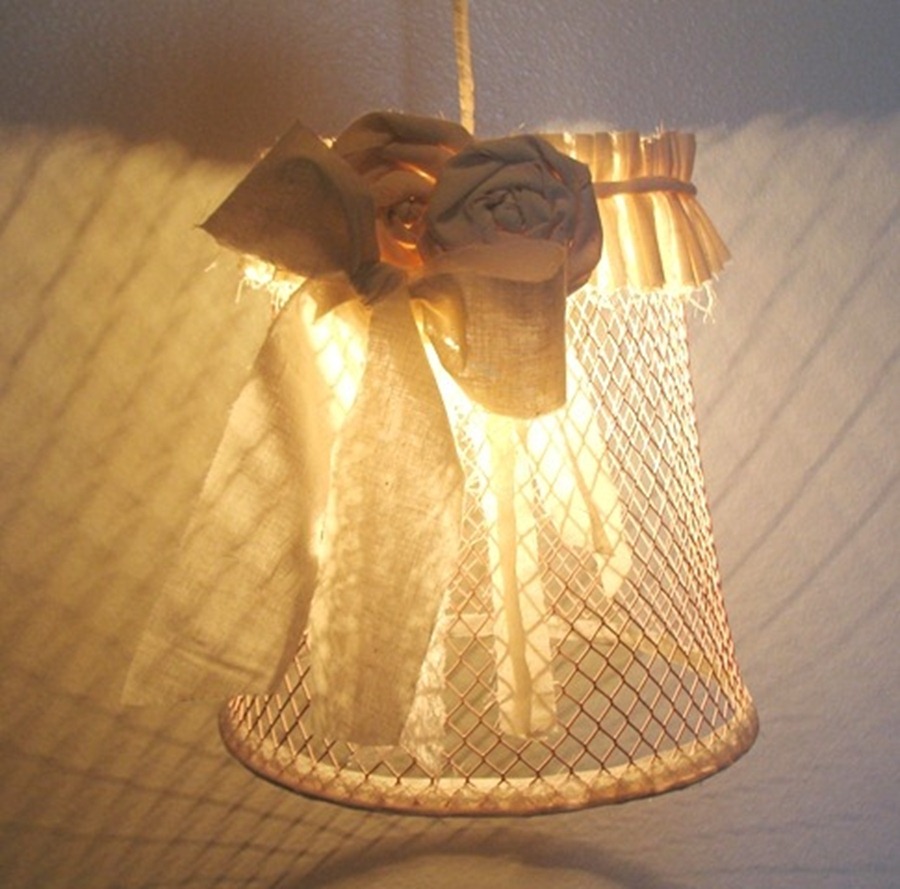
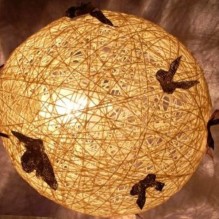
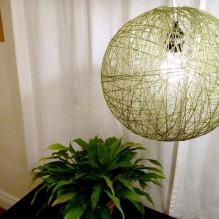
We make a chandelier with our own hands from threads
To make a chandelier from nylon threads, we take:
- Let's make a lampshade from a plastic bowl
- Multicolored threads
- Fastening paste
Description of the manufacturing principle.
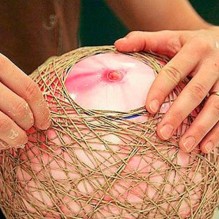
- First of all, let's make a paste. We mix half a glass of flour and two glasses of water, two glasses of water with a temperature above 60 degrees there, boil and throw about three tablespoons of sugar. We stir and wait until it cools down. Next, consider how to make a do-it-yourself lampshade for a chandelier
- We throw the yarn into the paste.
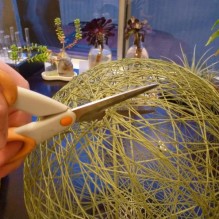
- We wind the resulting yarn on a bowl.
- After 24 hours, separate the resulting thread lampshade from the bowl.
- We attach the plafond to the bottom and that's it, the chandelier can be hung on the ceiling
Attention! A DIY lampshade for a chandelier provides for the use of a light bulb of no more than 60 watts, since it is made of flammable materials.
Have you decided to change your interior and want something unusual? The store offers a huge selection of different things, but why not make something yourself? The designer lives in each of us, you just need to wake him up, change the world that surrounds you, make it the way you see it!
Why not start with a chandelier? She can become business card your home, which no one else has. This will not only save your money but also give you a sea of unforgettable emotions.
Make a do-it-yourself chandelier shade. You will be surprised that the things that you were ready to throw away can be useful to you and be reborn in your new invention.
First you need to decide on the style, what kind of chandelier you want.
If you are young - a chandelier in a romantic style is for you, you need to decorate a country house - the country style will be just right.
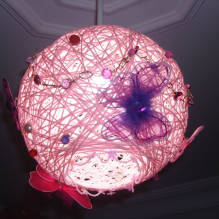
DIY chandelier (photo based on lampshade decorations)
To make a chandelier with our own hands, we take:
- Bulb holder.
- Power cord.
- Chandelier frame.
- Decor for jewelry.
- Multi-colored threads.
- Hot glue.
- 60 watt light bulb.
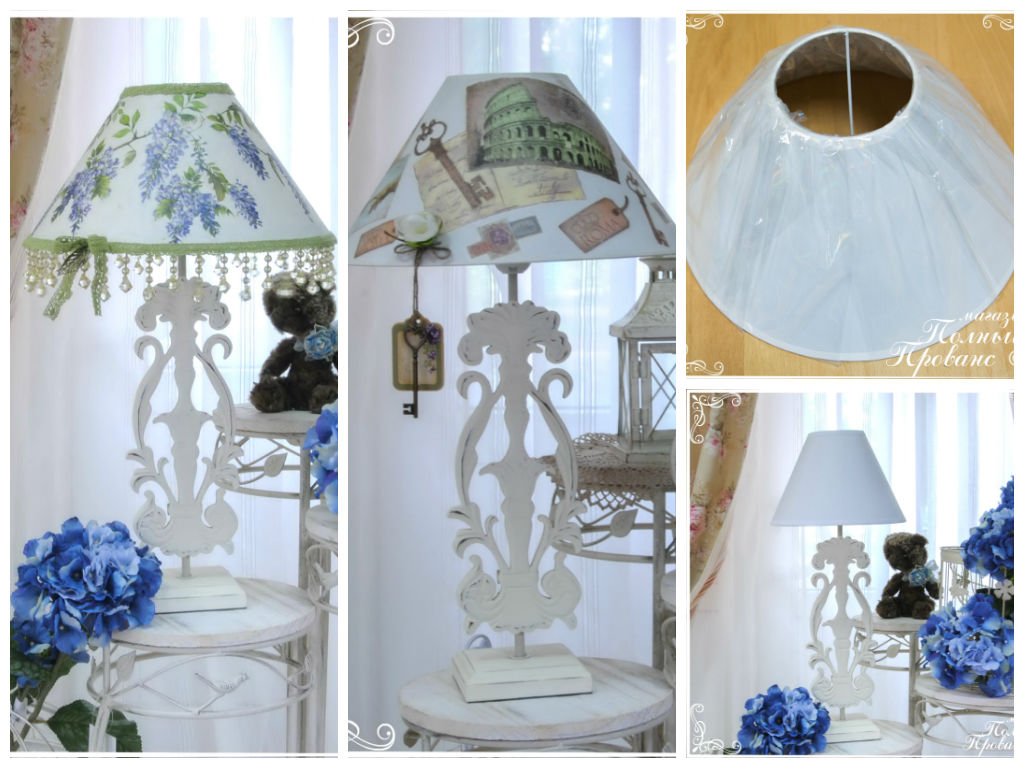
For the frame, what is left of your old, long-forgotten chandelier will do. Many famous designers began their brilliant career, adding polish to old things, bringing them to life and putting them up for sale.
Take measurements, decide on the fabric that you will use. After stitching the cover of the desired size, put it on the frame. You can decorate the lampshade as you like. These can be cut flowers, animals, shapes, beads and much more that will reproduce your imagination. We attach the cartridge equipped with a low-power light bulb to the lampshade and you're done. A DIY lampshade will cheer you up every time you look at it.
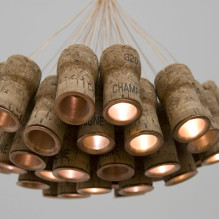
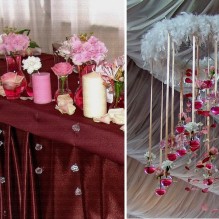
We make a Christmas chandelier with our own hands
How to make a New Year's chandelier with your own hands to surprise your friends with a suddenly discovered talent?
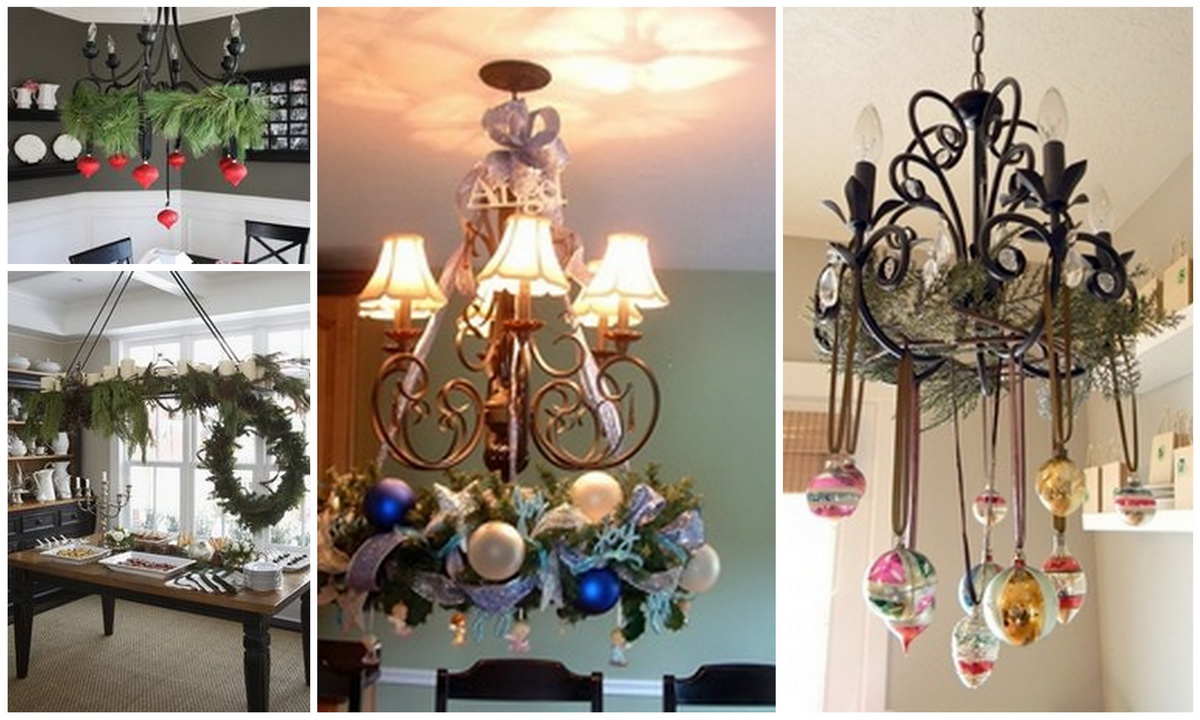
For the manufacture of a chandelier, we take:
- Organic glass or thin wood sheet.
- Linen rope.
- Multi-colored balls.
- Small stapler.
- We use the glass parts left over from the old chandelier.
Description of the manufacturing principle.
We start by cutting off a square from plexiglass, the dimensions of which are 50:50 cm. We make holes over the entire area every 5 centimeters, as chaotically as possible. We take a linen thread and thread it through a water hole and bring it out to another, adjacent one. The length of the extended ends should be two meters. We carry out this procedure until we fill in all the holes in the square.
We hang this composition instead of a chandelier on the ceiling and continue to decorate the chandelier as christmas tree... We take balls and tie to them nylon threads, of different lengths, and tie them to the structure, concentrating them in the central part. Next, we do the same operation with glass products, but we hang them already at the edges, the length of the thread should be less than on the balls. If you look at the structure as a whole, it will look like an inverted pyramid.
Now you know how to make a DIY Christmas chandelier. Start your crafts now and you won't stop at the chandelier.
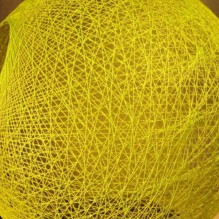
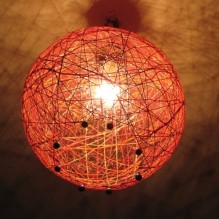
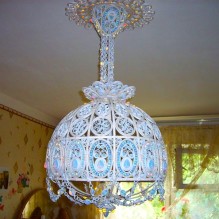
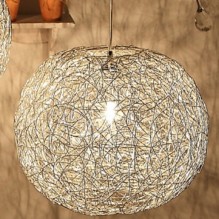
Recently, such decoration for a chandelier as threading has become very fashionable.
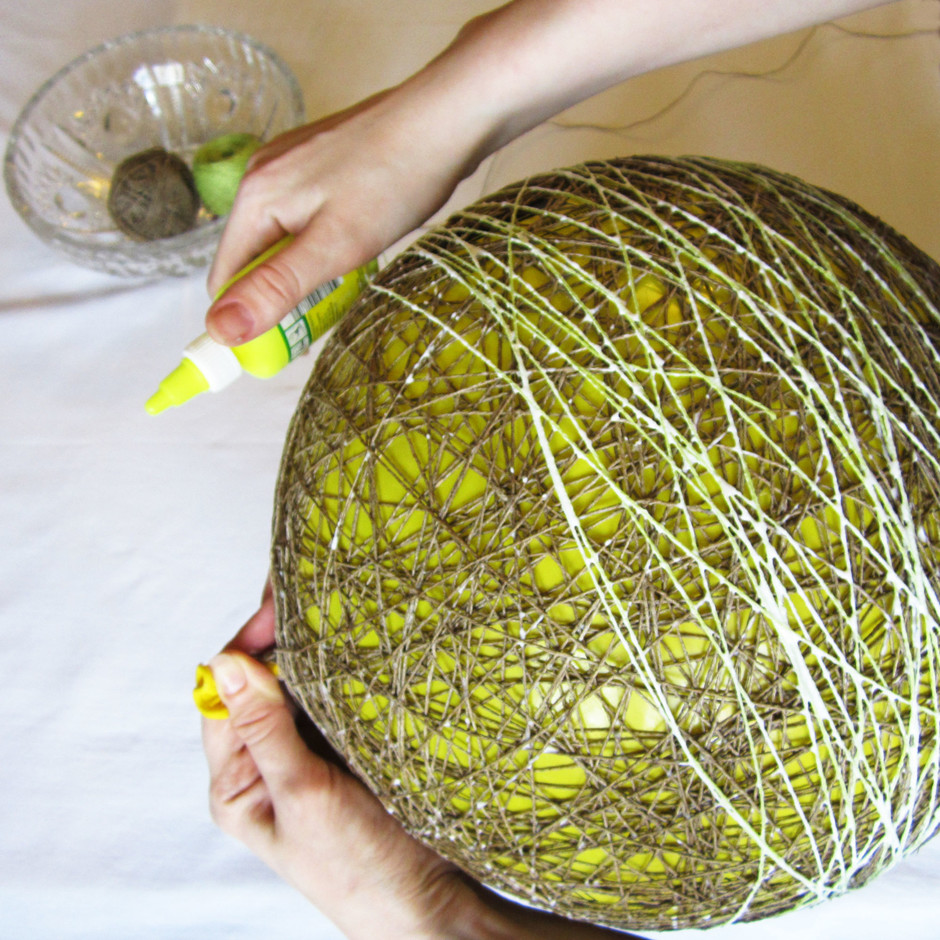
Description of the manufacturing principle.
We will need a lot of PVA threads and glue, as well as an inflatable ball. Cotton threads for our venture will come in handy, since the glue lays on them evenly and behaves obediently.


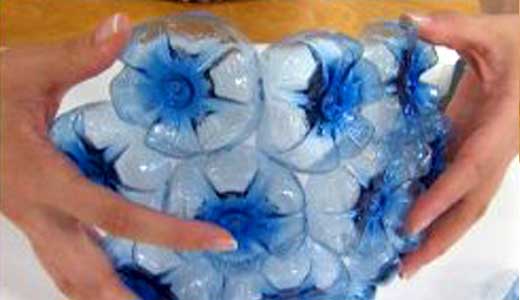
A wonderful plafond for a lamp can be made with your own hands from plastic bottles. In the photo one of possible options- Shade in the form of a ball, which was glued from the bottoms of plastic bottles. This idea can come in handy in the event that the lamp has broken or broken \ "native \" plafond or it does not suit for some reason.
It is not difficult to make such a wonderful lamp shade in the form of a ball. To do this, you need good glue (for example, hot melt glue), plastic bottles (preferably the same size and color), as well as a simple tool.
The photo shows all the main stages of work. First you need to cut off the bottoms of the plastic bottles as carefully as possible. However, if something does not work out, the cut line can always be trimmed with scissors.

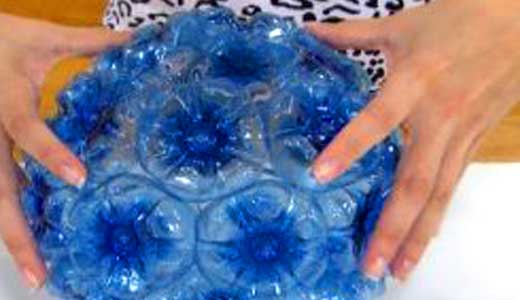
Some craftsmen also advise immersing the cut lines in hot sand in a frying pan for a few seconds. But more often than not, this is superfluous. Moreover, the cuts of the plafond will be inside the ball, and not outside and, thus, will be hidden from view.

Next, they proceed to glue the ball from the bottoms of the plastic bottles that were prepared in advance. This can be done using any glue that is suitable for plastic (which can be found in the instructions or read on the label).
A plafond for a lamp in the form of a ball is very simple, since in this case the bottoms of plastic bottles, which are round in themselves, are used. Nevertheless, doing something with your own hands is always difficult, because it requires diligence and attentiveness.
The plafond for the lamp will be ready when the ball from the bottoms is ready. By the way, you can use some other fasteners instead of glue. For example, you can try to simply twist the bottoms of plastic bottles with wire. It is better to choose a thin wire so that it is not noticeable.
So, the plafond from plastic bottles for the lamp is ready! Now you can put it on the stand and test it. But before you do this, you need to remember that since plastic does not tolerate high temperatures, and the luminaire can get very hot, you need to install a lamp with a cold light in it. Simply put - an economical light bulb with gas inside.